Tab:HUDs
From ISXOgre
Contents
HUDs
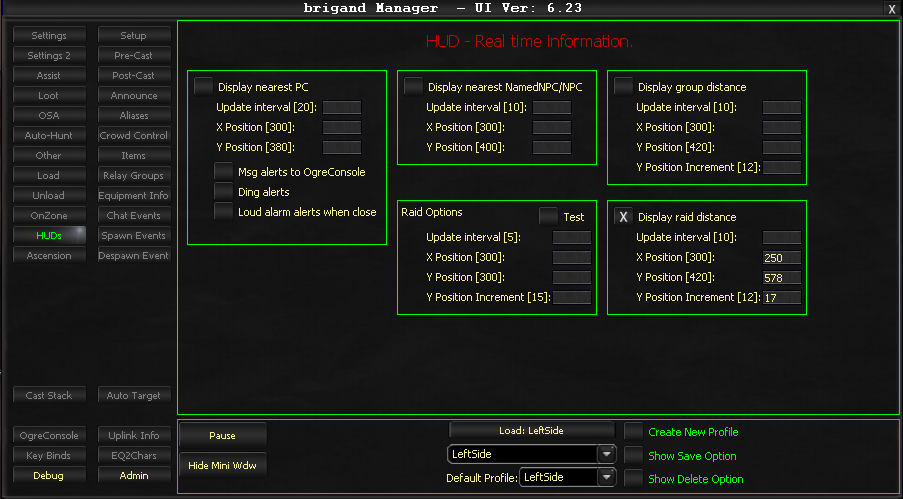
Real time information available on your screen. Or "Heads-Up Display". This replaces the old 'Mob/Priest info' option on the Settings tab.
This now allows you to choose which information you want, where you want it on your screen, and the update rate.
Note: At this time, Raid/Grind Options are NOT included. They are all very special coding, and for the time being will remain in their current position (300,300) to (300,400). I do plan to convert them over to this new system once I take the time to code it. But it is MUCH more complicated than these ones, since they involve timers etc.
Example
Example of Settings
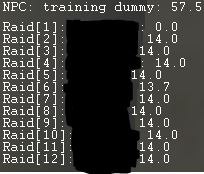
Example of HUD
Available options
Update Interval [#]
- The # in the braces is simply a suggestion. It means how often do you want this updated, measured in frames.
- What you are deciding, is speed for performance. The more it has to update, the lower your performance will be, since it will eat CPU cycles. This sounds a lot worse than it actual is. Most of these are low CPU calls. Meaning they are handled very quickly. Choose the highest value you are happy with. Generally speaking, I do NOT recommend going below 5, and there is probably very little need to even go under 10. Remember, this is measured in frames. So at 10, if you are running 30 FPS, it is updating 3 times per second. If you're running at 60 FPS, it's updating 6 times per second.
X Position [#]
- The # in the braces is simply a suggestion/default.
- This is where the HUD will be displayed. X is the horizontal coordinate.
Y Position [#]
- The # in the braces is simply a suggestion/default.
- This is where the HUD will be displayed. Y is the vertical coordinate. For multiple display items (group/raid), this is where the FIRST one is displayed.
Y Position Increment [#]
- The # in the braces is simply a suggestion/default.
- This only applies to multiple display items (group/raid).
- The Y Position determines where the first item will go, lets call it Group member #1.
- The Y Position Increment, adds # to determine where the second item will go, Group member #2.
- Quick example. Using a starting Y position of 100, with an increment of 20. Lets use an X position of 300.
- Group Member #1 would be located at 300,100 (X,Y) on your screen.
- Group Member #2 would be located at 300,120 (X,Y) on your screen.
- Group Member #3 would be located at 300,140 (X,Y) on your screen.
- Etc.
Available HUDs
Display nearest NamedNPC/NPC
- This displays the nearest NamedNPC to you. If one doesn't exist, then it displays the nearest NPC to you.
- This replaces the Mob part of 'Mob/Priest Info' that is no longer used.
Display nearest PC
- This displays the nearest PLAYER CHARACTER (or human) to you, that is NOT in your group/raid.
- Note: This one uses the most processing, and the update interval should not be set too low. If you never venture into contested/open areas, you don't need this turned on at all.
Display Group Distance
- Displays your group members, and their distance from you.
- Added some basic colour coding. At the time of writing this, the colour coding is as follows (subject to change!)
- < 30 meters = white.
- > 30m and < 75m = yellow. A simple warning people are... a bit away from you.
- > 75m = red. A stern warning people are in another zip code.
Display Raid Distance
- Displays your raid members, and their distance from you.
- When Raid is enabled, it automatically disables group.
- If you are not in a raid, it will still work for your group.
- Every 6 players, a "spacer" is added. To break up the groups a little bit.
- Added some basic colour coding. At the time of writing this, the colour coding is as follows (subject to change!)
- < 20 meters = white.
- > 20m and < 30m = yellow.
- > 30m and < 75m = Orange. A simple warning people are... a bit away from you.
- > 75m = red. A stern warning people are in another zip code.

